July 26-28th 2024
For being one of the most popular alpine climbing areas in southwest BC the Tantalus has quite complex access. In modern day this has all been somewhat overridden by the fact that Black Tusk Helicopters has their airport just across the river from the Tantalus, making a heli bump relatively affordable. Not wanting to use the overbearing aid of heli or trespass across Squamish Nation land, we opted to carry ultralight packrafts across the traverse and ride out the Squamish River to Brackendale in style.
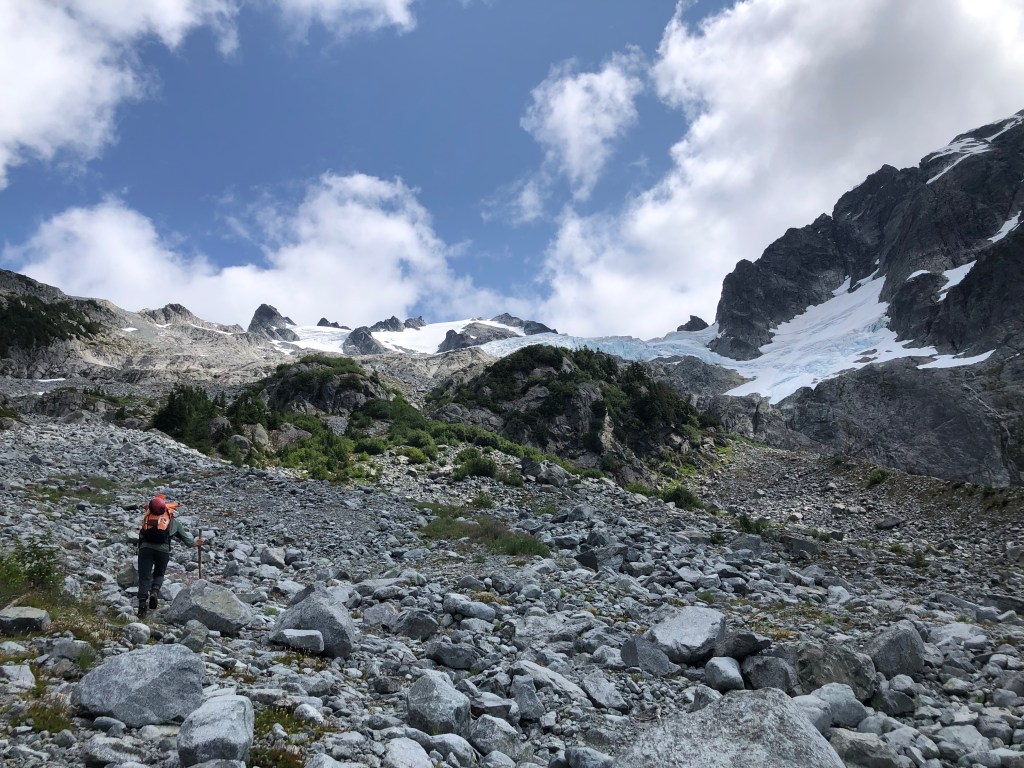
We started off from the Sigurd Creek trailhead, planning to camp at a tarn between Pelion and Tantalus. The first day was a slog with over 2000m of gain, compounded by heavy packs with 3 days of food, climbing gear, bivy gear, and rafts/paddles. Nicole was unlucky on the hike and disturbed two wasp nests ending up with a number of wasp stings. After bypassing the summit of Pelion around the east side we descended snow slopes and ended up staying at a peaceful little tarn surrounded by heather. By chance my friend Emma and her climbing partners were attempting the traverse over the same days. We shared the camp with them, cracking jokes as we cooked dinner next to the tarn.


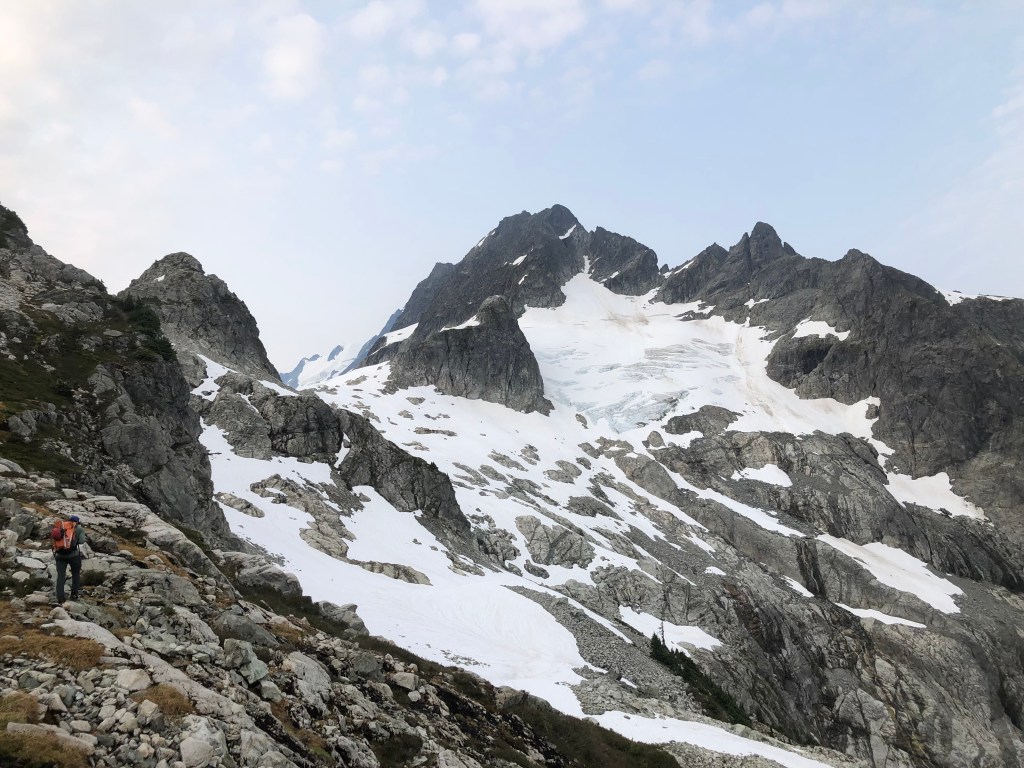
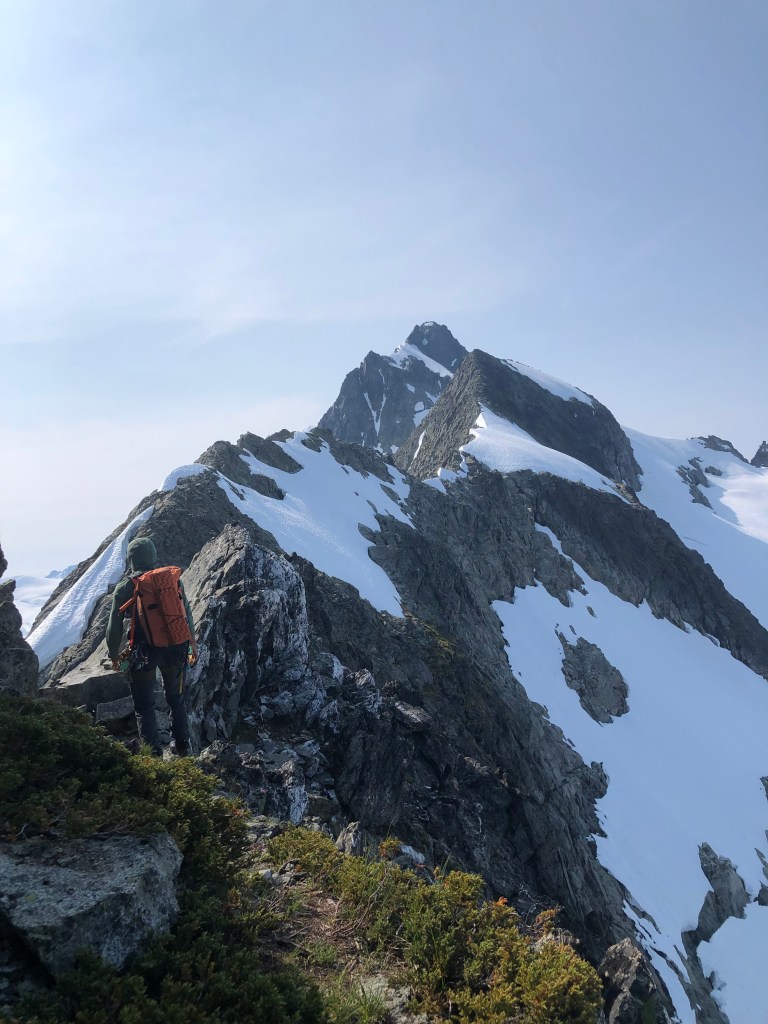
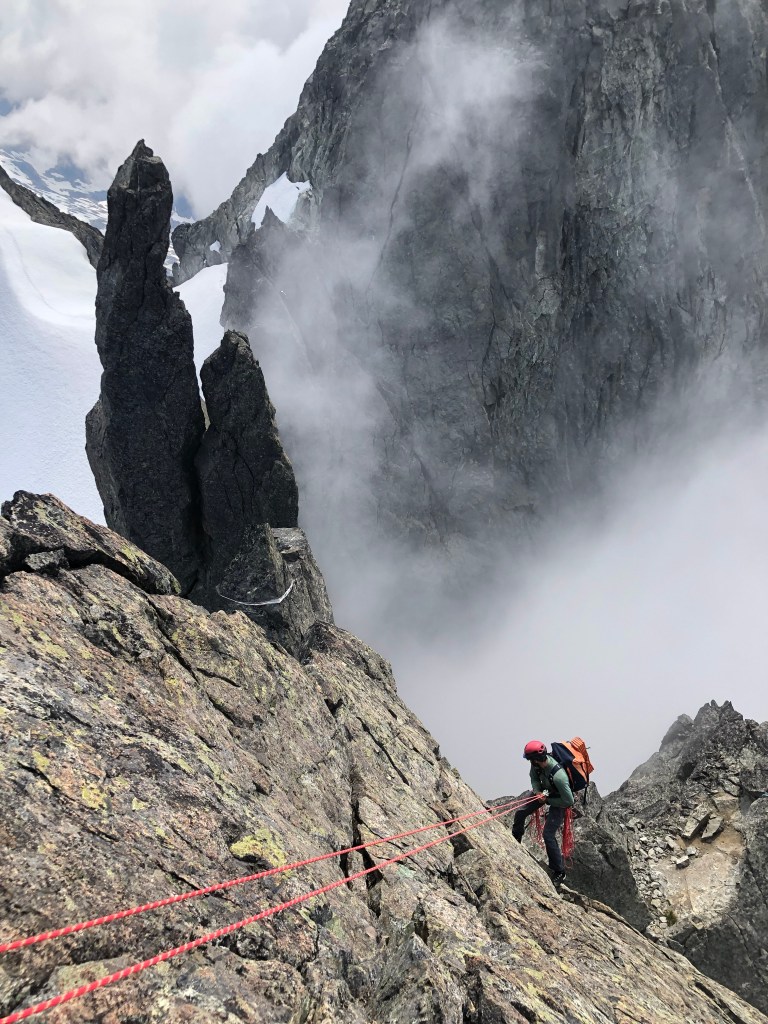
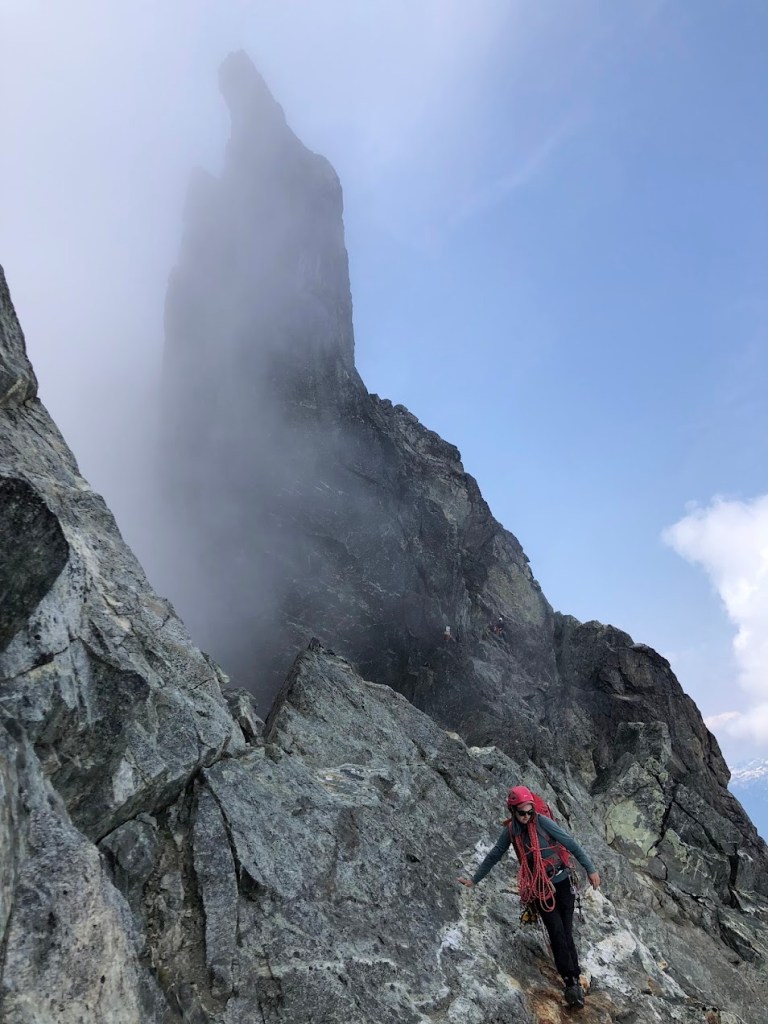
The next morning, we set off towards the North Ridge of Tantalus. I won’t get too in depth with traverse beta since there is already a wealth of good sources (McLane’s Alpine Select, Alpine Baking, Coast Mountain Skiing, and Altus Mountain guides to name a few). We opted to take the climbers right bypass around the 5.8 start. There was a solid bootpack already set through the snow here. The bypass was mostly snow travel with a short section through a loose and steep notch. Once we gained the ridge we were welcomed by broad views and moderate scrambling. Most of this ridge was 3rd class. We continued along the ridge before down climbing to a snowfield below the summit. Here there was another loose steep section to scramble through. We then scrambled up the false summit. After downclimbing a short section and gaining the true summit, we enjoyed lunch at the top.


We started our descent with a mix of rappels, ledge traversing and downclimbing. We followed the ‘high route’ rappels in McLane’s guidebook which ended being a somewhat convoluted set of rappels on good bolted anchors. It would be difficult to follow without good beta. Altus Mountain Guides put together a really nice post to help with the descent. https://altusmountainguides.com/general/tantalus-descent
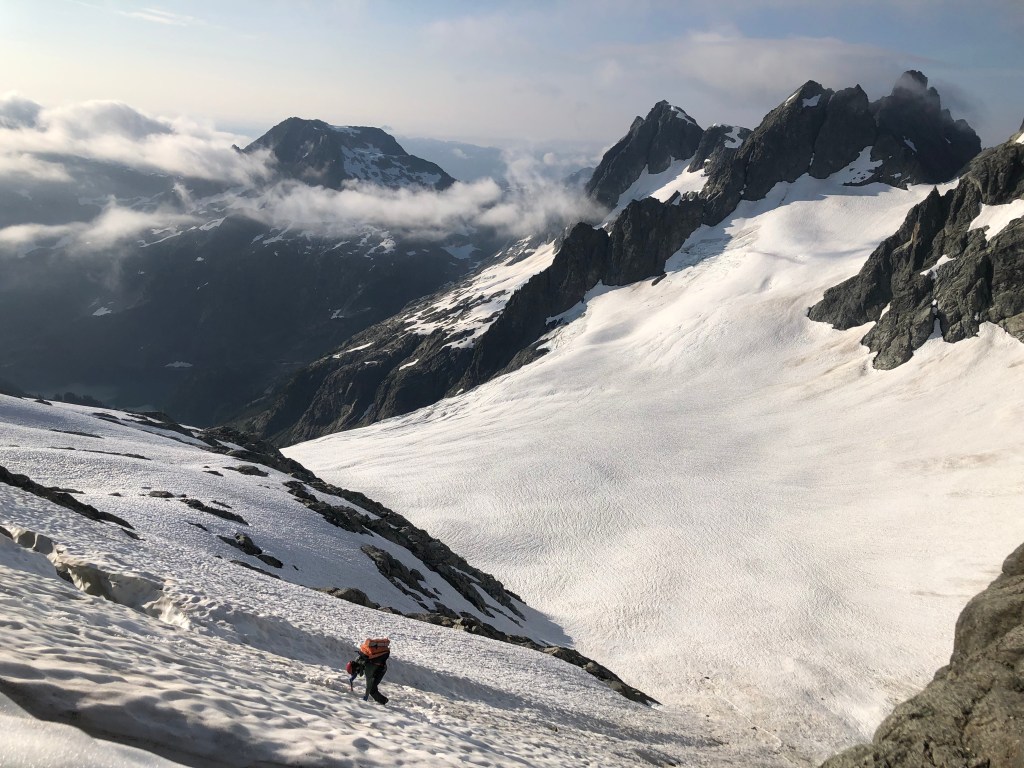
After the rappels we opted to tag the summit of Dione as well. This was a straightforward scramble up/down the summit via the south east face. There are a generous number of bolted anchors here too if you wanted to pitch it out or rappel. From here we made our way south along the ridge until two more rappels had us on the Dione Glacier.
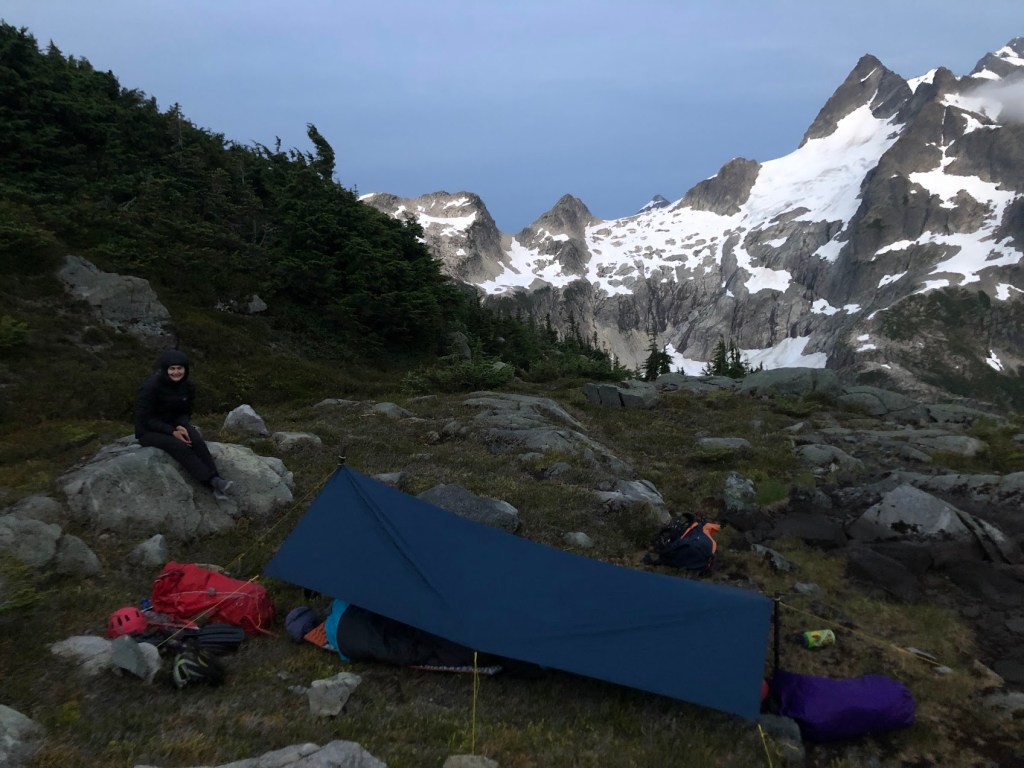
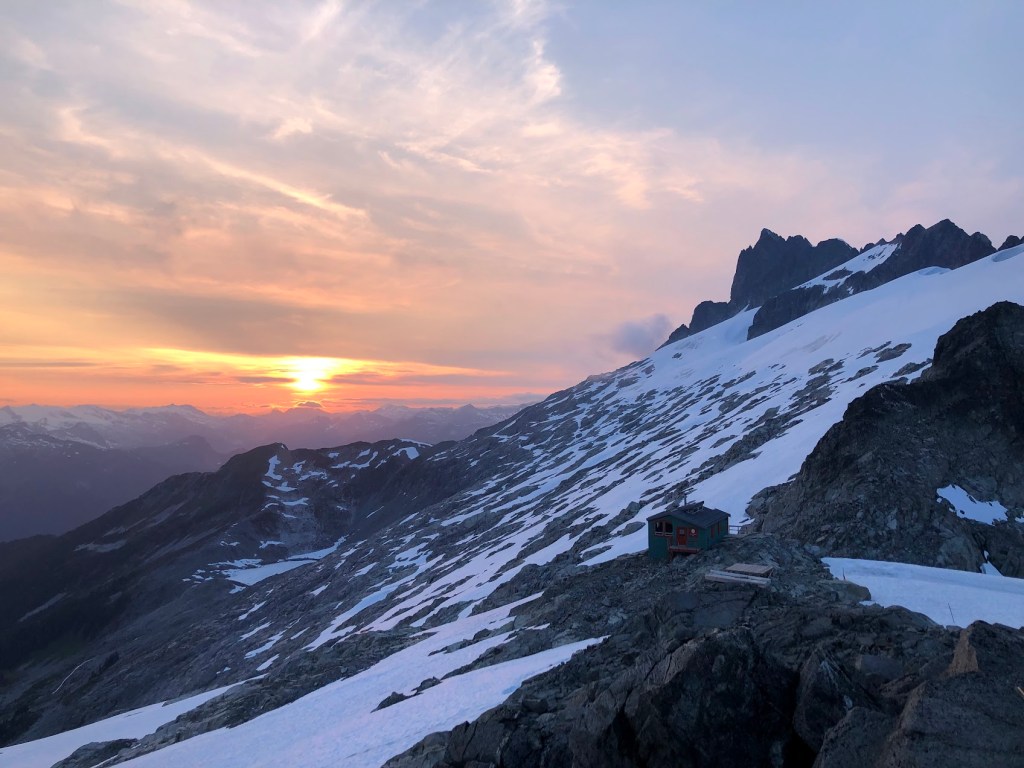
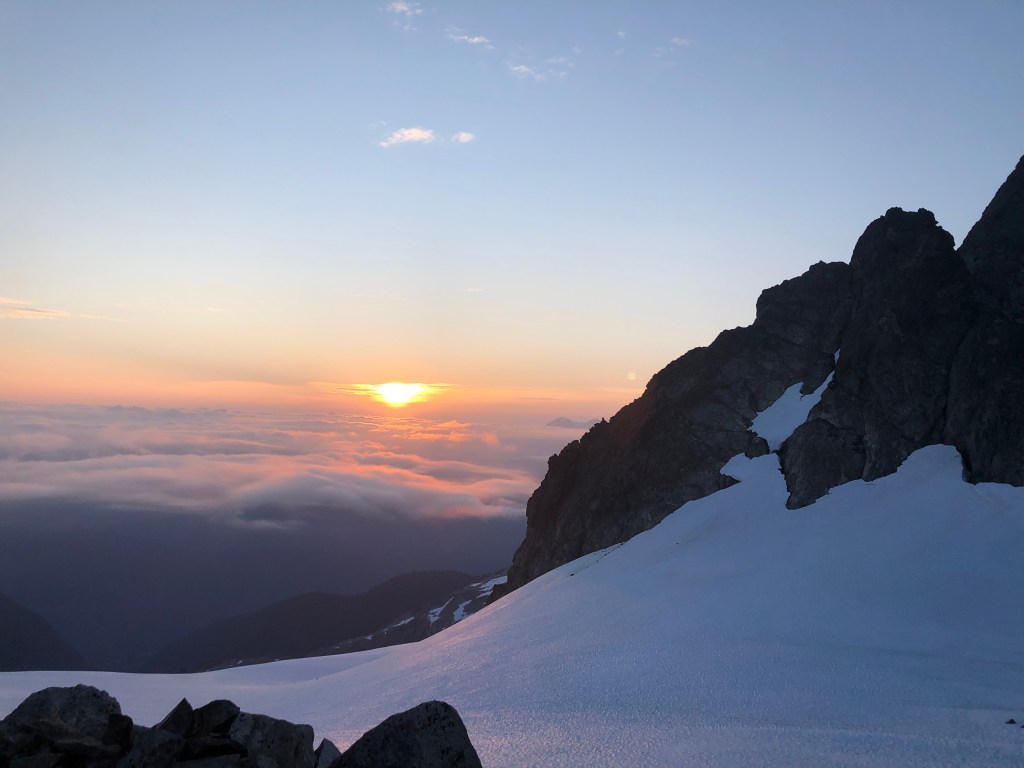
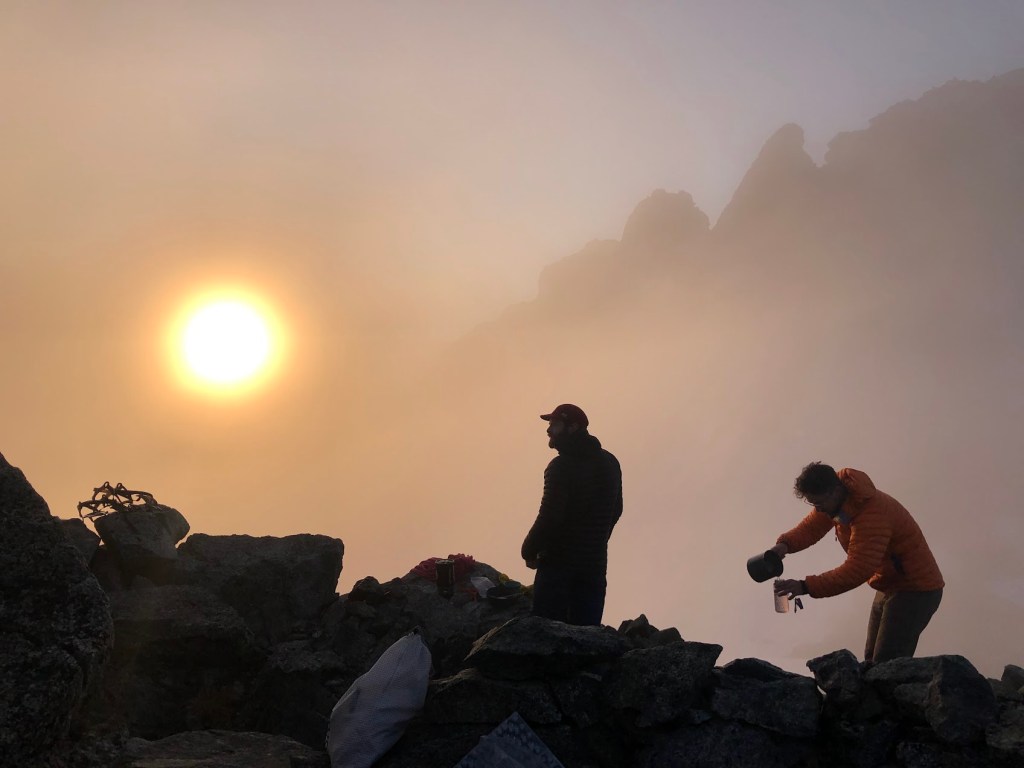
We traversed the Dione Glacier, finding some good streams of meltwater to fill up our water bottles before arriving at camp next to the Jim Haberl Hut. We found a sheltered spot to make camp and cook up dinner. Once again, the evening air was amazingly moist and dewy. I have never experienced so much dew in the alpine. Gratefully I brought a small flat tarp which we once again rigged over top of us, keeping us clear of the dew. A couple of our friends who brought waterproof breathable bivies found their sleeping bags quite damp by morning, the tarp did a great job. We enjoyed a stunning sunset and settled in for a surprisingly warm night.

In the morning we were welcomed by a spectacular sunrise as fog rolled in and cleared a couple times, diffusing the warm orange light through camp. A sugary instant coffee kicked off another day and we headed towards Lake Lovely Water. After popping through the notch west of Serratus, we traversed east before dropping fall line down heather slopes. The descent was more involved than expected with some bushwhacking and 3rd class scrambling. There is a large cliff band beneath the heather slopes, pick your line through it carefully. We had downloaded a gpx track of off the FKT website, which proved to be very valuable through here: https://fastestknowntime.com/route/mt-tantalus-traverse-bc-canada.
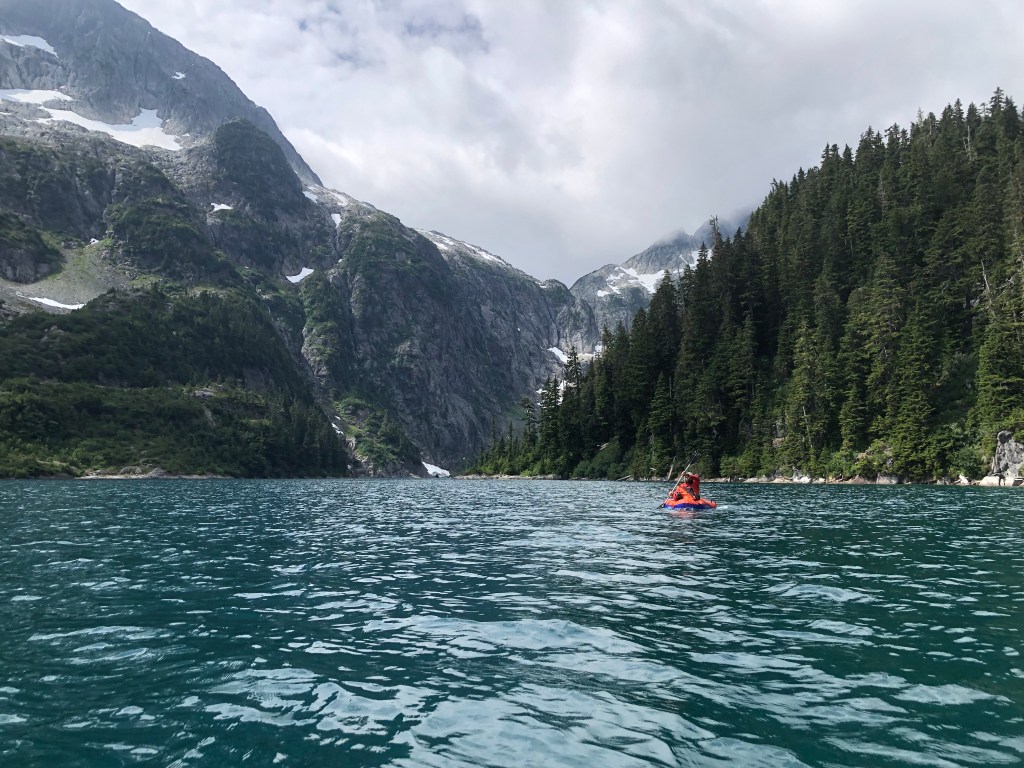
Since we hauled our packrafts this far we decided we would try to get the most out of them and paddle across Lake Lovely Water. We bushwhacked fall line down near Lambda Lake and found a small spot to put in. We inflated our rafts and had a lovely paddle across the lake. Even though we both ended up rather soaked from our short paddles dripping over us, and it ended up taking far longer than hiking around the side, I still think it was very worth it.
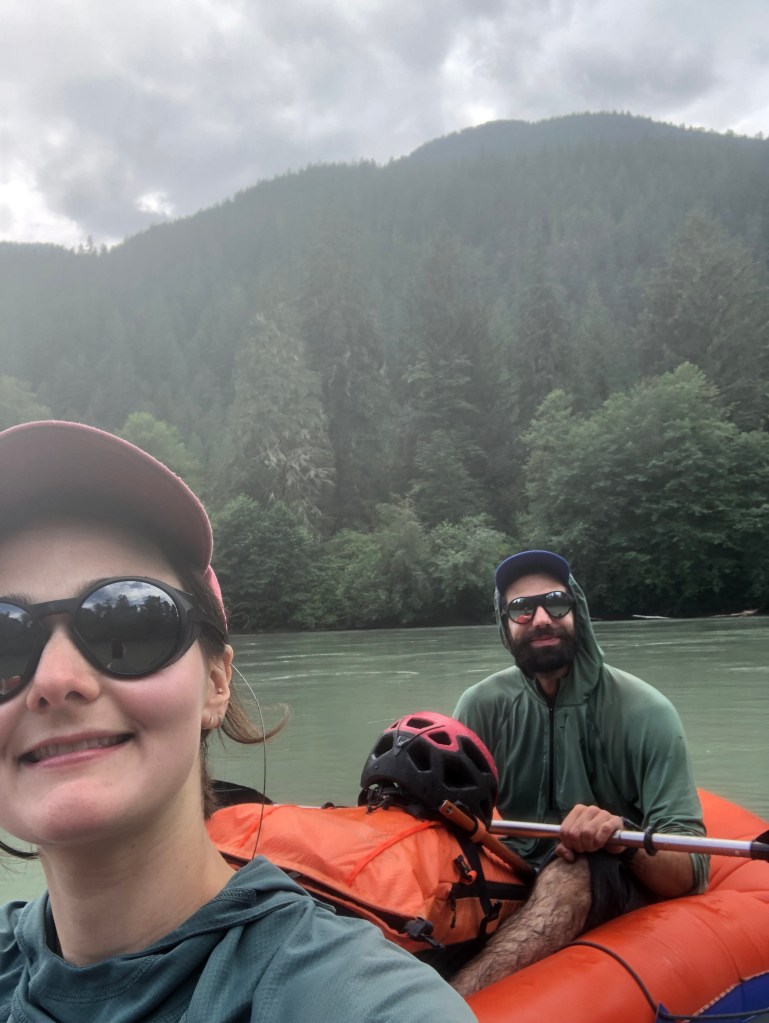
We packed up the rafts and made our way down the Lake Lovely Water trail. All in all around 2000m of elevation descended that day and no trekking poles made for a thorough knee workout. We were happy to finally make it down to the Squamish River. We were both a bit intimidated by rafting the river in our skimpy rafts. Setting forth down the river we watched carefully for the many sunken logs in the river. One sharp poke had the potential to completely sink our rafts. The short sections of class two rapids felt sporty with our limited experience. After an hour and a half floating down the river, we pulled up on the sandy banks at Fisherman’s Park where we had left one of our vehicles. It was a relief to be off the river and finished our first paddling/mountaineering multi-sport trip.

Traverse Beta/Thoughts:
- We brought two 30m 7.5mm twin ropes, and a slim alpine rack with 4 cams (0.4-1) and a handful of nuts. This was plenty since we bypassed the 5.8 section. The 30m ropes were nice for splitting up the weight.
- I was happy to have mountain boots to keep my feet dry and make all the snow/glacier travel feel more secure.
- If you have the time, splitting the traverse over three days was very nice, going to Pelion-Tantalus col for the first night, and then Jim Haberl was a nice way to split it up.
- I thought route finding was mostly straightforward except for the rappels off of Tantalus, this would be difficult to do with out a decent topo
Rafting beta:
Our raft setup was the Klymit LWD, and advanced elements ultralight paddle (leaving one middle section at home to save weight). The pack rafts weigh 1180 grams with their included pump stuff sack, and packs to about the size of a 1.5 liter Nalgene. The paddle with three sections weighs 580 grams and was short enough to fit inside our 30-40L climbing packs. All in all it adds a significant amount of weight, but it was very doable for an objective like the Tantalus Traverse which has essentially no technical climbing if you bypass the 5.8 start. These rafts are very light and say on the package that they’re good to class 2 rapids, but the fact that it is essentially the material of a camping air mattress and only had one chamber to inflate/deflate means that an accidental puncture could sink you very quickly. This setup worked for us on the trip, but I cannot really recommend much on the paddling front, as I have very little experience in rivers and whitewater.

Leave a comment